
Engine & Redrive
The Beginning:
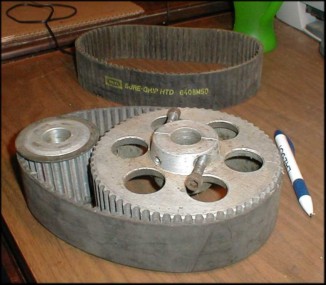
The process of putting power to the Skypup began with a set of recycled pulleys and HTD belts off of my brother's T-Bird (He was rebuilding with a larger engine/prop combination.) The driving pulley is a taper-lock variety. The ratio of the combination gives a 2.37:1. Unfortunately the driven pulley necessitates a live shaft. It was originally attached to a jack shaft mounted on pillow block bearings attached to the motor mount plate. If this arrangement would be used on the 'Pup then the propellor shaft would be below the engine, not good for ground clearance.
The Engine:
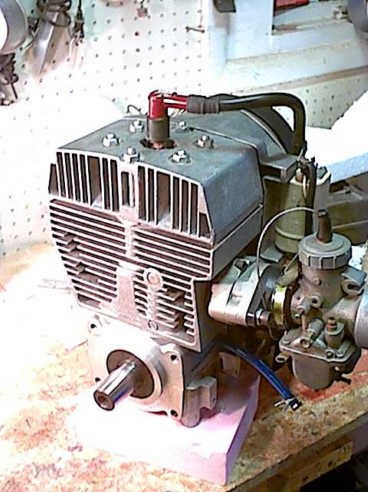
I checked with J-Bird in Wisconsin to discover that they had a zero time Cuyuna 215 available. Price was in my ballpark and since the Skypup was originally configured for the Cuyuna I decided that it would be a good place to start. Picked up a Mikuni carb for free. Looks like it may need a little work, some varnish in the float bowl. No exhaust at this stage. The biggest problem is that J-Bird had no redrive suitable for the Skypup. So, on to the drawing board.
Redrive Design:
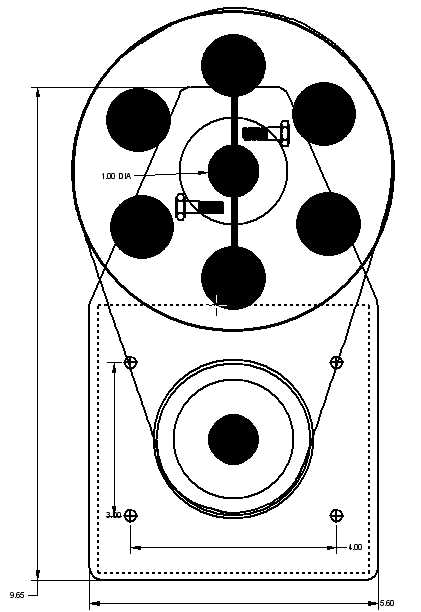
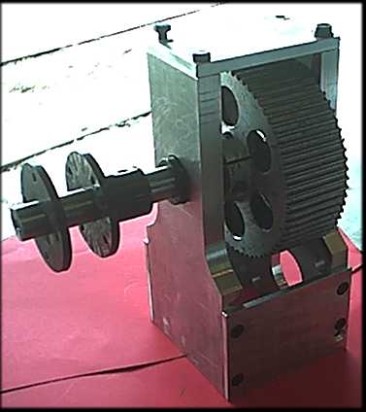
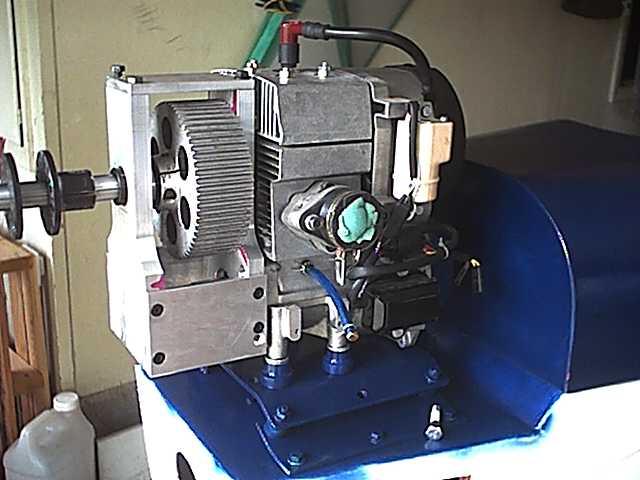
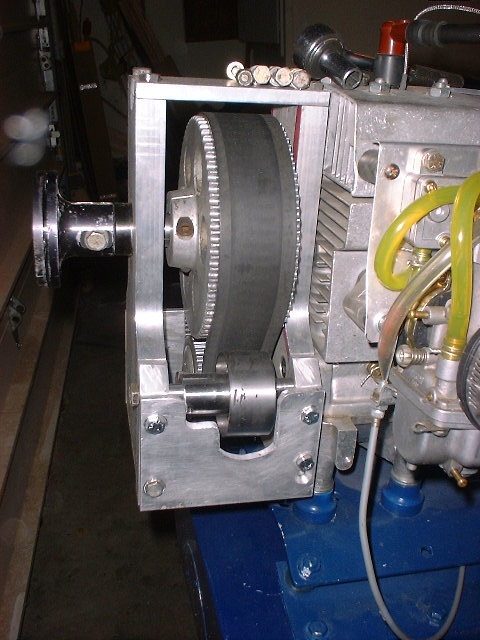
With the assistance of a friend of mine who is a very competent machinist, we began tossing around ideas on how to mount the various parts solidly on the engine. The majority of the redrives we looked at used a single plate attached to the face of the engine. We didn't think that would work with a live shaft. The single plate redrives had a stationary shaft and the bearings were mounted in the driven pulley. This wouldn't work with the parts we had, so we opted to try a dual plate housing to rigidly support two bearings at each side of the driven pulley. So far the assembly is pretty heavy. We expect we can lighten it by adding lightening holes and we can trim the shaft a couple of inches as well. Still have to come up with a method of belt tensioning.
State of the project at 5/24/04
11/21/2004 The HTD belt was too loose of itself to safely drive the prop, so I designed a tensioner out of a automotive timing belt tensioner. This combination worked rather well until 6/3/2006 when I developed a crack in the driven pulley. Since, I couldn't find a direct replacement for the pulley, I began searching for an alternative.
6/03/06 Cracked Pulley
While doing a test today, the motor stopped suddenly. I tried to start it again and it wouldn't. I found that a crack had developed in the hub of the driven (large) pulley and the pulley migrated forward on the shaft until it contacted the forward support plate effectively acting as a friction brake. Can't be fixed and I could not find a direct replacement, so I set out to find an alternative.
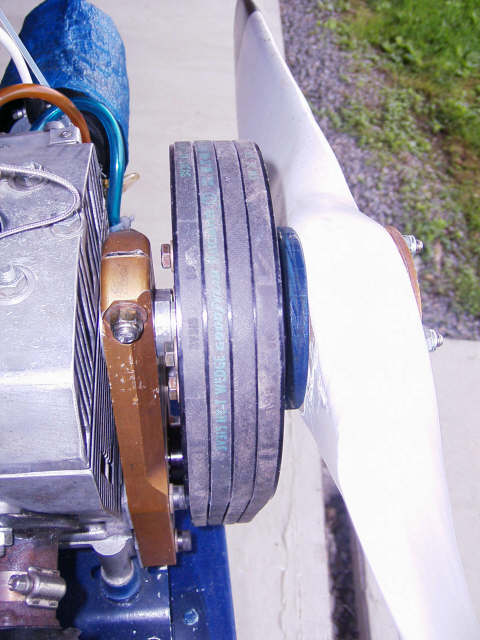
On Ebay I discovered a Cuyunal 430 being sold for parts with a 4 v-belt redrive attached. I bought the lot, replaced the bearings and it has been driving the MachNone since. Unfortunately, the new redrive is a 2:1 ratio and my old prop wouldn't work acceptably. Grr, another problem to solve.
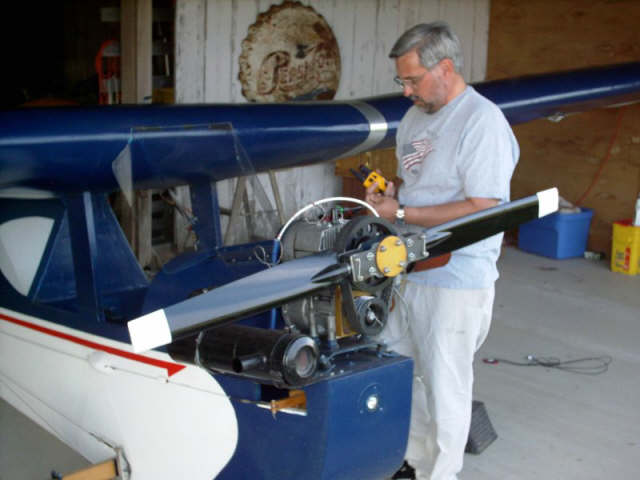
7/29/2006 As it turned out, my brother who had just gotten his T-bird II inspected and was going through flight testing accidently left a wrench setting on his wing. When he started the engine, the wrench went through the prop wrecking one blade. Since it was a three bladed Powerfin (old style), that now had two good blades (that were useless to him) I ended up inheriting it. I made an set of plates to adapt it to two blades and my hub and off I went. The combination doesn't work as well as my old homemade prop/redrive. The ratio just isn't right. I've lost 4-6 mph on cruise with the new combo, but it flies well if slower. If I can find a different driving pulley and can get it close to 2:5:1 I think the Pup will perform much better. But in the meantime, it works!
Construction Jigs
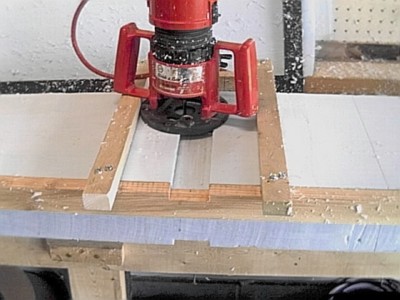
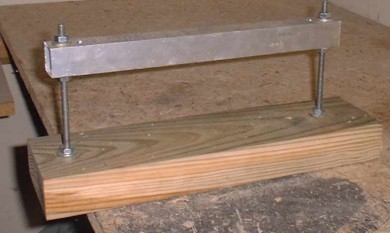
Jig for cutting insets for hardward wing supports in centersection spar web.The jig has holes drilled along the top frame. I used nails through them to pin it temporarily in place. Probably a good idea to cut out the maple wing supports after the pockets are inset to guarantee a good match.
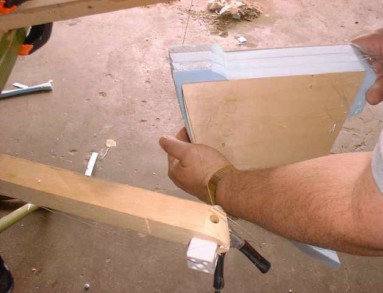
Jig for cutting bevel on hardwood wing attach blocks. My table saw (I suspect all) would not angle enough to cut the bevel on the maple attach blocks. I devised this wedge out of scraps to add the needed extra angle. I clamped it to the mitre gauge and sawed away (very carefully!).
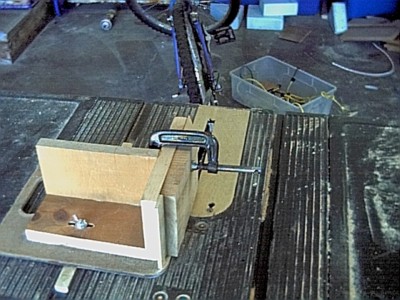
With ordinary handtools (hand drill, inexpensive drill press) there is no way to accurately drill the wing attach bolt holes without the holes drifting off center. At least, I couldn't do it. So I ended up resawing the blocks. I devised this jig to hold the block rigidlly and run it through the saw, keeping fingers well away from the blade! There is a strip of wood fastened to the bottom of the jig to slide in the mitre gauge slot.
To resaw a block you set the blade depth to a bit less than half the width of the block. Clamp it and saw through the first 1/2 of the block. Remove and rotate 180 degrees making sure that the same face remains agains the jig or fence. I put a small strip of 1/8 ply in the top kerf (groove) to help in clamping. Clamp and cut the other half. After this cut there will remain a small ridge of solid block. It is important to cut less than half at each cut or your block will collapse against the blade.Use a hand saw to cut out the remaining block.Then you can use your router to cut the bolt hole tracks.
Jig for hotwiring out pockets for wing attach blocks.
Jig I used to cut out ribs on first effort. Here I was using a single template on the bottom. I wasn't satisfied.
See below.
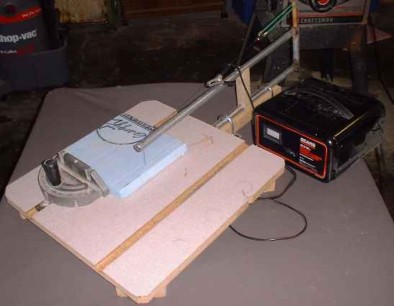
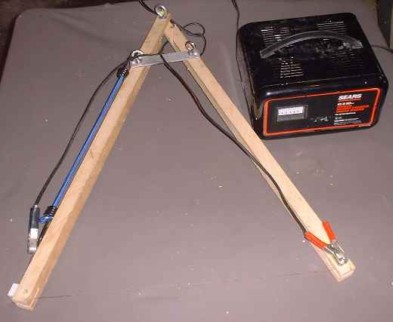
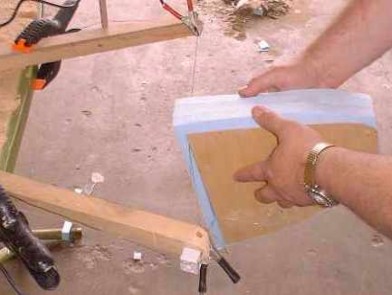
Free-hand hotwire jig. Bungee helps tension the wire. Wire temp is adjusted by moving clip up or down the wire.I often clamped it to the bench.
Thoughts on hotwiring.
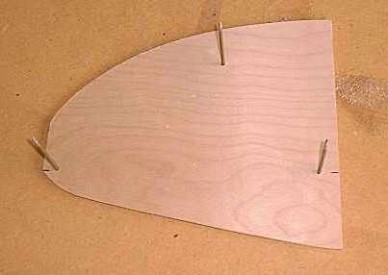
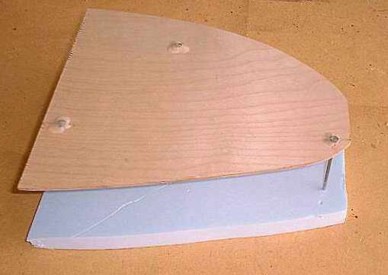
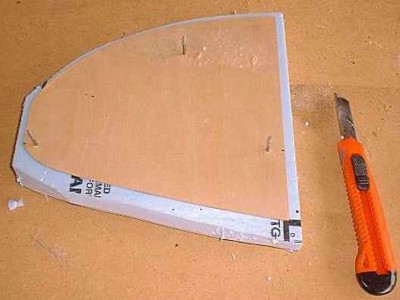
Cutting with a single template just didn't work. I could never keep enough tension on the wire (without burning it out) to cut square edges. A slight bevel always appeared, so I went to two templates with match drilled holes. In one template I glued 10 penny nails perfectly perpendicular to the surface. I then placed up to three rib blanks cut roughly with a utility knife on the nails and fit the other template over the nails.
More on hotwiring.
I adjust the temperature of the wire by moving the clips in and out on the wire. If the wire is too hot iit will melt too much foam and will burn out quickly. I found that the best place to start the cut was on the spar edge.There are two limitations on how many blanks can be cut at once. First is the length of the nails. They could be replaced with carriage bolts or threaded rod to increase cutting width. But the wire does deform under the cutting proccess. It curves as it drags through the foam. If there is too much width, the curve will affect the accuracy of the cut on the inner blanks.
Wing Leveling Jigs: When it came time to fasten the wing skins to the spars, it occurred to me that it would be easy to induce twist into the spars. So I devised three leveling blocks. Each block is fastened to the bench nails or deck screws and carefully leveled at the appropriate height (notice the horizontal is adjustable to both height and level.). The spar is placed on the blocks and fastened to them with bungee cords thus forcing the spar to remain true. Construction should be obvious from the photo example.


Building the MachNone

A Sky Pup Construction Project