


Building the MachNone
A Sky Pup Construction Project
Covering with Contact Cement
The Skypup manual specifies covering the airframe with "sheath lining" fabric purchased from an ordinary fabric store attached with "latex contact cement". Back in the early 80's that was apparently a good approach, but today several problems are encountered using that approach.
1. Ordinary fabric store "sheath lining" does not shrink very readily. You likely will have a sagging problem and you will be manifestly unhappy with the result.
2. Latex contact cement does not appear to be available anymore.
It had been suggested to me that an aircraft certificated glue exists to substitute for latex contact cement--Cecobond. The trouble is that Cecobond sells for about $40 a quart. You will need about a gallon of cement to finish the covering process. Covering was all of a sudden starting to look very pricey and did not seem to fit in with the general approach to design and construction of the Skypup concept.
With a little bit of research I found some more than adequate substitutes at a much better price. For fabric, I purchased a roll of 1.8 oz dacron from Aircraft Spruce for $3.10 a yard. As this fabric is 64" wide (sheath lining is 48") not as many lineal yards are required, I figure about 36 yards at $3.10 per yard.
For cement, I am indebted to Norman Bang, who recently covered his Pup with an industrial-grade adhesive, 3M Fastbond 30NF which sells about $18 a quart (available from Grainger Industrial Supply). After playing around unsuccessfully with "neoprene" contact cement (yuck!) I decided to try the Fastbond. I have been really pleased with the results and I wanted to share my discoveries for those who have never tried such a process before.
I've never covered an ultralight aircraft wing before, but I have had considerable experience covering RC model aircraft wings with tissue/dope, self-adhesive fabric, as well as monokote. I used a similar approach with the Pup.
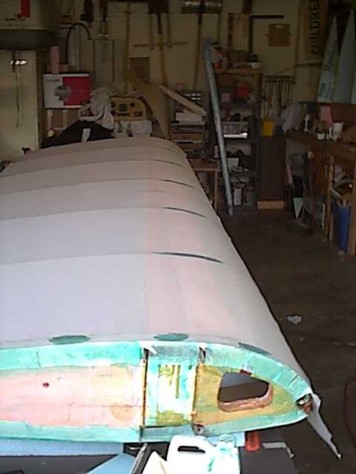
1. Step One: Surface Prep.
I presume you have you a complete wing fully varnished. Water-based glue does not flow well on freshly varnished surfaces so they need to be fully dry and then lightly sanded to give the glue some tooth to stick to. After sanding, clean well with a tack rag. Use your hands not eyes to check for imperfections. If you can feel it, you'll see it later!
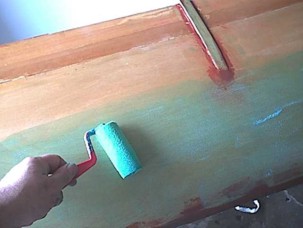
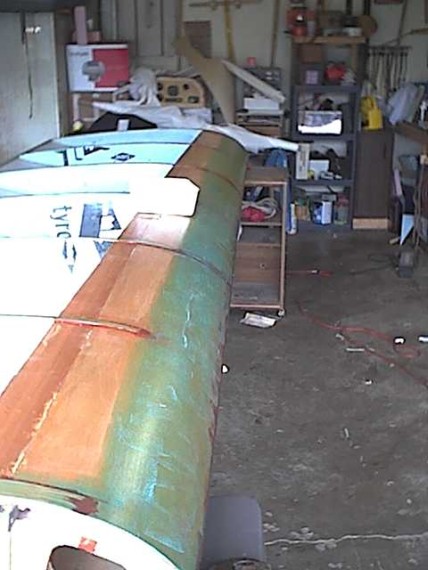
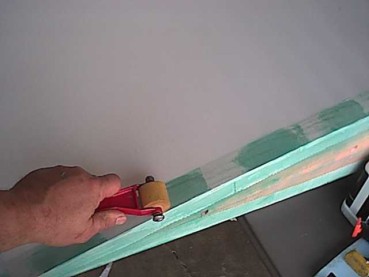
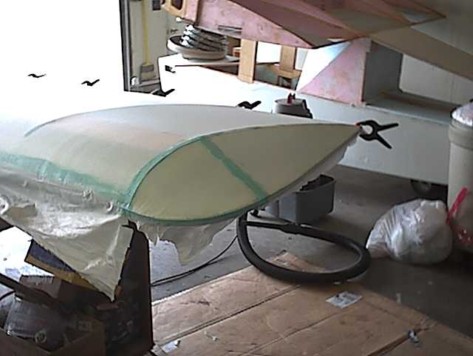
Step Two: First Glue coat.
I used a foam trim roller to apply the cement, which worked fairly well. Fastbond can be rolled, brushed or sprayed. In this first coat I actually worked my way around the wing twice making sure I had a nice even coat applied to the leading edge, rib caps and trailing edge. You can see I used the blue/green version of Fastbond so I could better tell how much was applied. I let this coat dry overnight. If you apply a second coat while the first is damp, you risk pulling off chunks and messing up your beautiful surface!
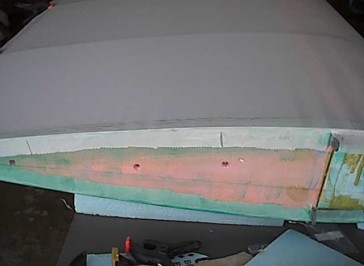
Step Three: Second (or Third) Glue Coat.
Pretty self-explanatory. You need to be sure that about 30 minutes passes after the last coat before applying fabric and no more that 4 hours. This is the active stage of the glue.
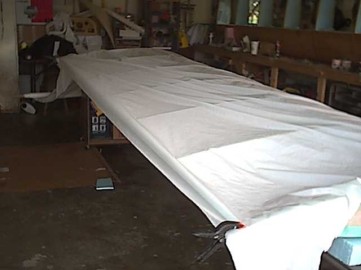
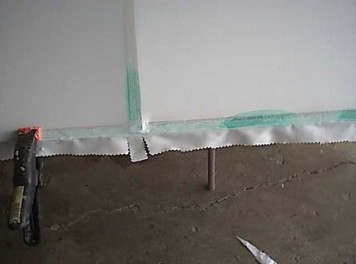
Step Four: Fabric Lay-up.
Roll out the fabric across the wing. I held it in place initially with plastic spring clamps at the trailing edge corners, giving it a tug to stretch it. I follow this up with a clamp at every rib cap junction being sure to leave about 1 1/2 inches over to lap around the trailing edge to the other side of the wing. One edge is now fairly well in place.
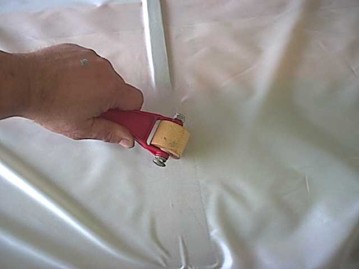
Step Five: Stretch out.
Start in the middle of the leading edge. Pull the fabric taut and then use a roller (I used a wallpaper roller) to stick the fabric down. The fabric will be held firmly in place, but can be peeled up if it needs to be repositioned. Now do the same thing at the corners of the leading edge. Now work yourself around the wing tugging and rolling to get the fabric stretched uniformily over the wing. If you do it carefully, the wing will look like it is shrunk beore you even apply the iron. Try and get the wrinkles out, especially on the leading edge.
Step Six: Glue down fabric.
The fabric is nicely stretched over the airframe and it is now time to make this permanent by applying a layer of glue over the fabric. The glue will flow through the weave and reactivate the lower glue layer. When it dries it will be firmly attached. A hint here is in order. If you apply your cement too much in one area, the liquid cement will cause your nicely stretched fabric to pull away from the airframe and you will have to work to hold it in place. So if you go around the wing applying "dabs" of glue. Then wait a bit for the glue to dry, then go around again filling in the empty spots until a uniform coating is applied to leading edge, rib caps and trailing edge.
Step 7: Sealing.
When dry, the fabric will be relatively secure, to make the bond better seal the two surfaces together with pressure from your roller. The bond will be very strong now. If you wait until the glue is completely dry, not active any longer. You can use your iron on the glue areas and they will bond nicely (not too hot I think 275 degrees F. is about right. Do not apply iron to damp glue!)
Step 8: Shrinking.
Time to tauten the fabric by applying your iron to the surface of the fabric. Your iron should be calibrated to 290 degrees F. Be careful, you can EASILY over tauten the fabric. My first wing had slight scalloping effect on the trailing edge due to too much tightening. The solution is to not shrink all the way to the trailing edge.
When working at the edges, relief cuts at strategic locations helps the fabric lay flatwhen wrapped over the edge.
Working the wing tips is especially trying. I tried two approaches. First, I made a relief cut along the diagonal foam support and pulled the forward piece of fabric back toward the trailing edge, trimmed to fit and glued over the other piece. Then I added a reinforcing strip over the top.
Probably the better approach is to use your iron as you stretch. You need to leave a rather healthy overhang of fabric to pull on! Pull and tack to the wing tip bow then let cool and then shrink. This method gives a better look, but is harder. If you have never worked with fabric or monokote. use the first method